Gitlab部署
预备知识
如果你不知道Gitlab是做什么的,那么请参考下面链接(包括但不限于)进行学习:
仓库设置
添加choerodon chart仓库并同步
helm repo add c7n https://openchart.choerodon.com.cn/choerodon/c7n/
helm repo update
部署Gitlab
创建参数配置文件
gitlab.yamlcore: env: OAUTH_ENABLED: false OAUTH_AUTO_SIGN_IN_WITH_PROVIDER: "oauth2_generic" OAUTH_ALLOW_SSO: "'oauth2_generic'" OAUTH_BLOCK_AUTO_CREATED_USERS: false OAUTH_GENERIC_API_KEY: "gitlabhq" OAUTH_GENERIC_APP_SECRET: "gitlabhq" # choerodon api 访问地址 OAUTH_GENERIC_SITE: "http://api.example.choerodon.io" OAUTH_GENERIC_USER_INFO_URL: "/oauth/api/user" OAUTH_GENERIC_AUTHORIZE_URL: "/oauth/oauth/authorize" OAUTH_GENERIC_TOKEN_URL: "/oauth/oauth/token" OAUTH_GENERIC_ROOT_PATH: "'userAuthentication','principal'" OAUTH_GENERIC_ID_PATH: "'userAuthentication','principal','userId'" OAUTH_GENERIC_USER_NICKNAME: "username" OAUTH_GENERIC_USER_NAME: "username" redis: internal: password: password persistence: enabled: true persistentVolumeClaim: core: storageClass: nfs-provisioner redis: storageClass: nfs-provisioner database: storageClass: nfs-provisioner expose: ingress: host: "gitlab.example.choerodon.io" database: internal: password: "password"执行安装
helm upgrade --install gitlab c7n/gitlab-ha \
    -f gitlab.yaml \
    --create-namespace \
    --version 0.2.3 \
    --namespace c7n-system
参数
参数 含义 默认值 Expose expose.type暴露服务的方式: ingress、ClusterIP、LoadBalancer或nodePortingressexpose.tls.enabled是否开启 TLS falseexpose.ingress.hostGitlab 在 ingress 中的域名 gitlab.cluster.localexpose.ingress.annotationsingress 中使用的注解 expose.clusterIP.nameClusterIP 服务名 Release.Name-gitlab-coreexpose.clusterIP.ports.sshGitlab 监听的 service SSH 端口 22expose.clusterIP.ports.httpGitlab 监听的 service HTTP 端口 80expose.nodePort.nameNodePort 服务名 Release.Name-gitlab-coreexpose.nodePort.ports.ssh.portGitlab 监听的 service SSH 端口 22expose.nodePort.ports.ssh.nodePortGitlab 监听的 service SSH nodePort 30022expose.nodePort.ports.http.portGitlab 监听的 service HTTP 端口 80expose.nodePort.ports.http.nodePortGitlab 监听的 service HTTP nodePort 30007expose.loadBalancer.nameLoadBalancer 服务名 Release.Name-gitlab-coreexpose.loadBalancer.ports.sshGitlab 监听的 SSH 端口 22expose.loadBalancer.ports.httpGitlab 监听的 HTTP 端口 80Persistence persistence.enabled是否开启持久化存储 persistence.enabledpersistence.resourcePolicy将它设置成 keep避免 helm delete 时删掉 PVC。keeppersistence.persistentVolumeClaim.core.existingClaim使用已经绑定 PV 的PVC,你使用共享的 PVC 必须指定 subPathpersistence.persistentVolumeClaim.core.storageClass指定 storageClass提供数据卷。如果有默认的storageClass会直接使用它,设置-禁用动态配置persistence.persistentVolumeClaim.database.existingClaim使用已经绑定 PV 的PVC,你使用共享的 PVC 必须指定 subPathpersistence.persistentVolumeClaim.database.storageClass指定 storageClass提供数据卷。如果有默认的storageClass会直接使用它,设置-禁用动态配置persistence.persistentVolumeClaim.redis.existingClaim使用已经绑定 PV 的PVC,你使用共享的 PVC 必须指定 subPathpersistence.persistentVolumeClaim.redis.storageClass指定 storageClass提供数据卷。如果有默认的storageClass会直接使用它,设置-禁用动态配置General imagePullPolicy镜像拉取策略 IfNotPresentCore core.image.repositorygitlab 镜像地址 registry.cn-shanghai.aliyuncs.com/c7n/docker-gitlabcore.image.tag镜像 tag v11.11.7core.env.GITLAB_HOSTGitlab 主机名 localhostcore.env.OAUTH_ENABLED是否启用 oauth 认证 falsecore.env.OAUTH_GENERIC_API_KEYoauth 客户端ID core.env.OAUTH_GENERIC_APP_SECREToauth 客户端密钥 core.env.OAUTH_GENERIC_SITEGitlab 域名 core.env.RACK_ATTACK_WHITELISTGitlab 并发限制白名单 0.0.0.0/0 Database database.type如果使用外部数据库,设置为 externalinternaldatabase.internal.password数据库密码 changeitdatabase.external.adapter外部数据库适配器 postgresqldatabase.external.host外部数据主机名 192.168.0.1database.external.port外部数据库端口 5432database.external.username外部数据库用户 database.external.password外部数据库密码 database.external.databaseNameGitlab 数据的数据库 gitlabhq_productionRedis redis.type如果使用外部数据库,设置为 externalinternalredis.internal.passwordRedis密码 redis.external.host外部redis主机名 192.168.0.2redis.external.port外部redis端口 6379
验证部署
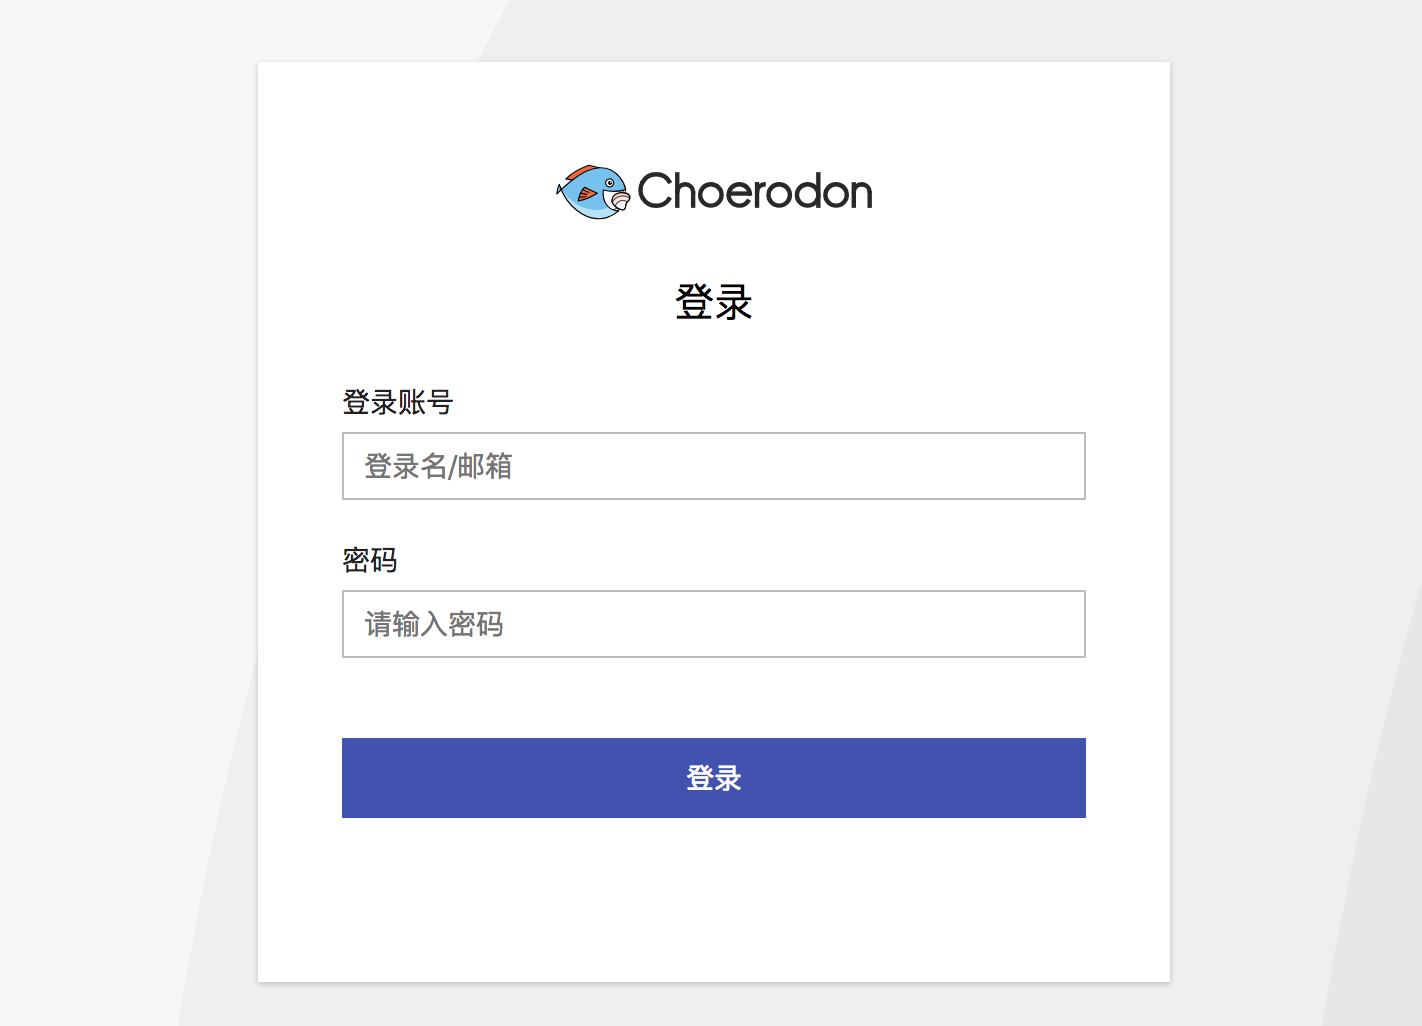
访问设置的Gitlab域名出现以下界面即部署成功

配置Choerodon Oauth认证
- 以下操作须将Choerodon搭建完成后再继续进行,若未搭建,请跳过。
- 配置Choerodon的Oauth认证后Gitlab的root用户是无法再通过Gitlab自有的界面进行登录的了。
如标题所描述,进行此步配置就是使用Choerodon的Oauth认证进行登陆Gitlab。这是Gitlab与Choerodon进行整合的必要操作。
更新Gitlab配置
修改参数配置文件 gitlab.yaml
core:
  env:
    OAUTH_ENABLED: true
...
执行更新
helm upgrade --install gitlab c7n/gitlab-ha \
    -f gitlab.yaml \
    --create-namespace \
    --version 0.2.3 \
    --namespace c7n-system
添加Gitlab Client
- 在执行里面前请根据实际情况修改参数
web_server_redirect_uri 编写参数配置文件
gitlab-client.yamlenv: MYSQL_HOST: c7n-mysql.c7n-system.svc MYSQL_PASS: password MYSQL_PORT: 3306 MYSQL_USER: root SQL_SCRIPT: | INSERT INTO hzero_platform.oauth_client (name,organization_id,resource_ids,secret,scope,authorized_grant_types,web_server_redirect_uri,access_token_validity,refresh_token_validity,additional_information,auto_approve,object_version_number,created_by,creation_date,last_updated_by,last_update_date,enabled_flag,time_zone)VALUES('gitlabhq',1,'default','gitlabhq','default','password,implicit,client_credentials,authorization_code,refresh_token','http://gitlab.example.choerodon.io',3600,3600,'{}','default',1,0,NOW(),0,NOW(),1,'GMT+8');部署服务
helm upgrade --install gitlab-client c7n/mysql-client \
    -f gitlab-client.yaml \
    --version 0.1.0 \
    --namespace c7n-system
添加管理员用户关联
执行完添加管理员用户关联步骤前请不要去Gitlab界面进行登录操作
执行下面语句进行关联:
helm upgrade --install gitlab-user-identities c7n/postgresql-client \
    --set env.PG_HOST=gitlabhq-gitlab-database.c7n-system.svc \
    --set env.PG_PORT=5432 \
    --set env.PG_USER=gitlab \
    --set env.PG_PASS=changeit \
    --set env.PG_DBNAME=gitlabhq_production \
    --set env.SQL_SCRIPT="\
        INSERT INTO identities(extern_uid\, provider\, user_id\, created_at\, updated_at) \
        VALUES ('2'\, 'oauth2_generic'\, 1\, NOW()\, NOW());" \
    --version 0.1.0 \
    --namespace c7n-system
验证更新
访问设置的Gitlab域名出现以下界面即更新成功
